Question:
What are the steps to load and make use of .WAV/.AIF files?
Answer:
This tutorial is in three parts:
Things to Know:
The PC3K supports loading of .WAV and .AIF sample files. Both mono and stereo files can be loaded, 8 or 16 bit, with sample rates up to a maximum of 96 kHz. Once samples are loaded to the PC3Ks user sample flash memory, samples remain in the PC3K even when the power is off, until they are manually deleted. Also, once samples are loaded to the PC3Ks user sample flash memory, there is no load time for those user samples when turning on the PC3K.
The initial loading of samples is not unlike loading .PCK/.PC3/.PLE files. They can be loaded off USB thumb drive (flash drive) or via the direct-USBDrv temporary drive connection. However since the direct-USBDrv drive is limited to 1.6MB, using a thumb drive is the better approach in most cases where audio is involved due to typically larger file sizes. The walk through below will demonstrate the load process using a thumb drive.
(Interested in learning how to load content with the direct-USBDrv connection? see “Loading User Data via USB – an Overview”.)
It is important to note that raw samples are just that, raw “ingredients”. Even after loading, they have not yet been “cooked” into any useable “recipe” yet (aka Program and Keymap). As such upon loading any raw samples, do not expect to find these samples magically appearing in Program mode. After loading you will need to first build a Keymap and Program using the loaded samples. After which, the Program (recipe) employing these new samples will become available as an ID selection in Program mode for normal use (details on one fast, easy method for doing this further below).
Loading:
1) Using your computer, copy the desired .WAV/.AIF files to a compatible USB thumb drive.
2) Once copied, insert the thumb drive into the PC3K’s back panel USB “Storage” port.
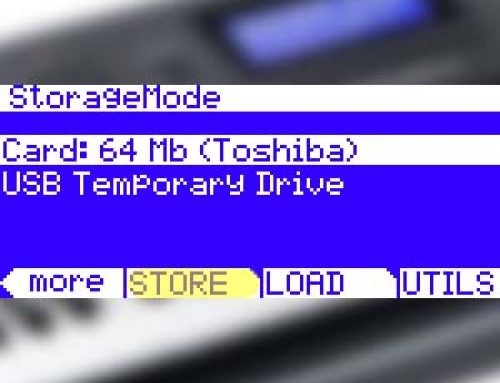
3) Press the front panel STORAGE mode button, you will see:

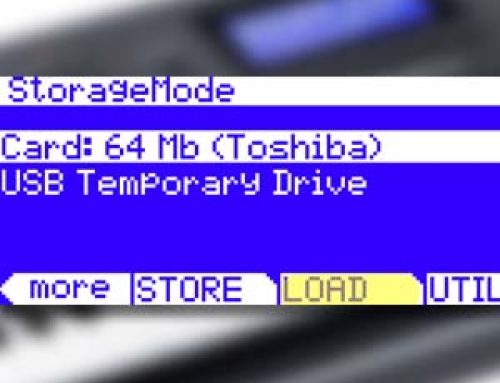
4) Press [LOAD]:
5) Next you will see listed (alphabetically) any files previously saved to the drive. If needed, use the data wheel to scroll and highlight the file to be loaded. Then press [Ok]. Our example file here is named “SAMPLE.WAV”:
6) Using the data wheel, scroll to select the numeric bank you wish to load the file’s contents into. Here we are selecting “1025…1152”, the first region of user slots. Once your selection is made, press [Fill]. Using Fill means existing user-data will not be overwritten.(Note: there are several Load Methods available, please see your manual for complete details on the different choices).
7) A message will appear on screen indicating the file is “Loading…”. Note: samples load slowly, please be patient. Once done, you will see a confirmation message “Objects loaded”. You will then be brought back to the main Storage Mode screen.
Done. The sample(s) you loaded are now in sample flash memory and ready for use (see below).
Previewing:
As mentioned, to make use of any loaded raw samples, a Program and Keymap must be constructed first. This can be done by one of two methods:
- Manual Keymap construction (see your owner’s manual page 14-7 for details).
This method is ideally suited for more advanced users and intricate mapping applications.
-OR-
- You can use the handy PREVIEW tool.
This method is ideal for those with simpler needs wanting fast results.
PREVIEW automatically makes a new ‘generic’ Program (and Keymap) for you, using any single sample. This method provides a quick way to begin making a new program which can be then, of course, be edited further if desired.
Here is how it works:
1) Press the MASTER mode button, you will see:
2) Using the left/right [MORE] buttons, locate and press [PRVIEW]:
3) On the following screen you will see a numeric list of ALL samples in memory (both ROM and User). Scroll (and or type) through the list and select the desired sample and press [OK ]. Continuing with our example from above, here we have selected #1025 SAMPLE:
4) Select the Program bank where you wish this Program to be saved. Staying with our example, we are again going to use the first User Bank area “1025…1152”. This will create the Program in the first empty User Program slot:

You will see a brief screen confirmation telling you the Program was created.
5) Press EXIT twice to return to Program mode. Your new Program will be immediately available and named using the same name given the raw sample file.
Note:
By default, the sample will be initially stretched across the entire keyboard with C4 as the sample root (i.e. original sample pitch). See your owner’s manual for details on further Program editing.