Question:
How can I load my data using the USBDrv Storage function?
Answer:
All references to the “PC3” apply equally to both the PC3, PC3A, PC3K and X-Pro models.
To begin you must first establish communication between your PC3 and computer.
Activating the USB Drive
1) Connect a USB cable between your PC3 and computer.
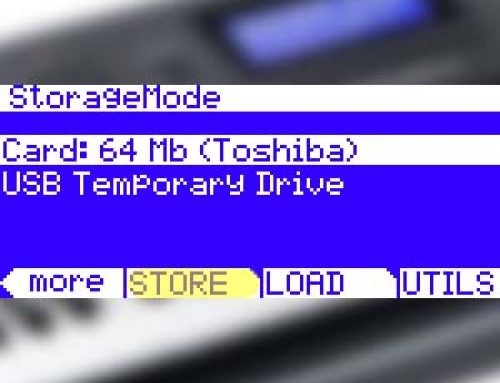
2) Press the front panel STORAGE mode button, you will see a screen similar to (PC3 shown here):
3) Press [USBDrv]:
4) Press [Choose]:
5) A temporary volume (or window) titled “KurzweilPC3” (or similar) will appear on your computer desktop.
On the PC3 you will see:
From here you can load files into your PC3 from the temporary drive mounted on your computer desktop by way of the [LOAD] function.
Loading Data via the USB Drive:
The PC3 storage interface permits taking a very wide or narrow view of what you can select to load from your stored files. You can load a given file in its entirety, load custom groupings from within a chosen file or be as selective as loading just one single object from within a file. Your choice. Further, once your selections are made, the PC3 offers a variety of methods as to exactly how and where these items will be loaded back into memory.
For complete details on all the selection options and load methods available, please see Chpt 13 in the Owner’s Manual .
The following example illustrates simply loading one file in its entirety into the User Bank.
After activating the USB Drive as detailed above…
1) On your computer, locate the file(s) (limit 1.6Mb total) you wish to load and copy it to the temporary “KurzweilPC3” USB Drive that is mounted on your computer desktop. This makes it available to the PC3 for loading. Our example file here is named “MYFILE.PC3”.
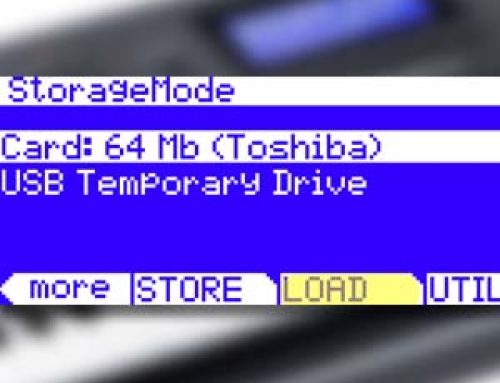
2) On the PC3, press [LOAD]:
3) You should see the file you copied in step (1) above. If more than one file is listed, use the data wheel to scroll and highlight the file to be loaded. Then press [Ok].
4) Using the data wheel, scroll to select the numeric bank you wish to load the file’s contents into. Here we are selecting “1025…1152”, the first region of user slots. Once your selection is made, press [Fill].(Note: there are several Load Methods available, please see your manual for complete details on the different choices).
5) A message will appear on screen indicating the file is “Loading…” followed by the confirmation “Objects loaded” when done. You will then be brought back to the main Storage Mode screen. Note the USB Drive is still engaged.
Deactivating the USB Drive
1) Once you have finished loading the desired files from the temporary USB Drive on your computer, you can press EXIT (hard front panel button below cursor arrows) to disable the USB Drive and resume normal MIDI over USB functions.
2) Press [Yes] to confirm.