Question:
I am working with an external sequencer/DAW and want to understand how to save/recall my sounds and other channel assignments used for the project. What are my best options?
Answer:
All references to the “PC3” apply equally to the PC3, PC3K and X-Pro models.
Like many things in the PC3, you have several ways to approach things. To store/recall multitimbral settings for sequencing purposes, you have three main methods, each having their own advantages and disadvantages:
1) Using MIDI Bank and Program Change messages
1) Input the proper bank and program change messages, along with MIDI mix settings (like Volume and Pan) in your external sequencer and save things with each project file.
-
- Advantages: likely the most elegant approach, this method maintains all project data (performance, mix and program selection) within your DAW session. No need to load or do anything additional at the PC3. When the session is loaded, all of your PC3 assignments are put back in place via MIDI messages sent from your DAW.
-
- Disadvantages: using Bank/Program Change messages can be an intimidating and confusing concept to the uninitiated. Assumes all sounds needed are already in memory and reside at the same locations day in day out.
For full details on using Bank and Program Changes with your PC3, please see “Select Programs via MIDI“.
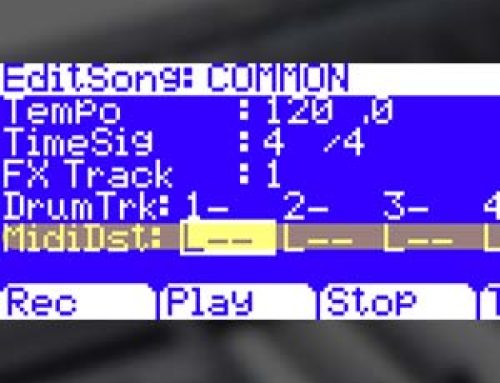
2) Use a blank song in Song Mode to capture your channel assignments.
-
- Advantages: no need to understand/apply Bank and Program Change messages. As the songs are stored in RAM they are available to save to disk as well along with any dependent objects (i.e. custom sounds you may have created/loaded). Simply go to Song mode, select 0*New Song* (or press [ClrSng ]):

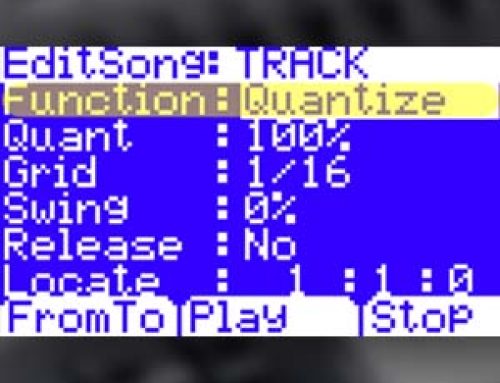
Assign your desired sound to each MIDI channel, set its volume/pan then press the [MIXER] page button:
and press [KEEP]:
Then Exit and Save the song, naming it if you wish. Now whenever you call up this song, your channel selections and mix settings will be loaded up. Because this uses Song mode memory locations, you can have many resident in RAM all at once (the primary benefit of using the Song mode approach).
-
- Disadvantages: though slightly more immediate approach than using Bank/Program Changes, it requires managing two user interfaces while working, the PC3 and that of your DAW. It also means, your MIDI performance will be stored (in your DAW) apart from your sound settings (in the PC3). This poses a potential risk of not being able to recall your session if the PC3 song is ever accidentally erased or altered unintentionally. All of the above also mandates saving this song to disk as back up. One more added step.
3) Store a Master Table to disk. A Master Table is much like a snapshot of all your PC3’s current MIDI channel settings.
-
- Advantages: the most comprehensive method, much like the Song Mode approach, it is a “built-in” solution and requires no understanding of Bank/Program Change messaging. It also permits the saving to disk of custom objects and does not require the use of Song mode. Additionally, the Master Table contains other settings aside from just your channel assignments. All the settings on the Master and MIDI pages get stored too (various global system preferences etc.). This can be a real time saver when recalling a session. Details on employing the Master Table approach below.
-
- Disadvantages: same disadvantages as using Song mode PLUS only one Master Table can reside in memory at a time, meaning saving and loading such files from disk is mandatory.
Here are the steps for using the Master Table approach:
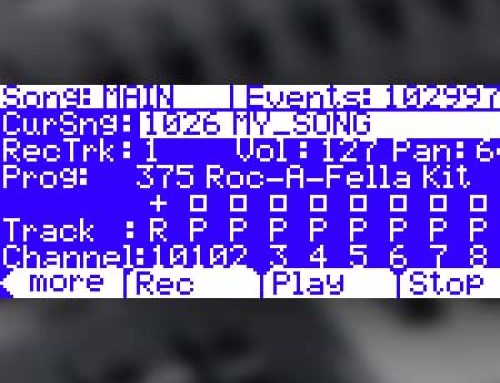
1) From the MIDI MODE, press the [CHANLS] soft button:
![]()
2) Using the Chan/Layer buttons to the left of the screen, scroll through the 16 channels, select the desired sounds, volume and pan per MIDI channel, as needed:
3) Press the MASTER mode button next.
4) Press either [more] buttons twice:
5) Press [Save]:
A message confirming “Master Table Saved” will be briefly displayed.
6) Press STORAGE
7) On the Storage Mode screen, press [STORE]:Note: our example here illustrates saving to xD card (PC3 users). PC3K users would save to a USB Thumb Drive instead – screens will look similar. Alternatively both PC3/K users could also save the file directly to their Mac/PC via direct-USB connection.

8) Scroll to the bottom of the listed left-column selections, highlight “Master Table” and press [Select]:

9) Then simply press [Store]
10) Press [Ok]
11) Name file something you will remember later
12) Press [Yes] when asked about saving dependent objects
Done. Now whenever you load this file back in, all of your MIDI channel settings (as well as other MIDI and Master global settings) will be recalled.