Question:
How does the ‘Show Zone Info’ display work?
Answer:
Starting with system update 2.10 there is a new Multi display mode which offers an overview of the current Multi’s zone status. At a glance, this makes keeping track of what zones are active and assigned to what much easier, all without having to enter the editor. Here’ how it works:
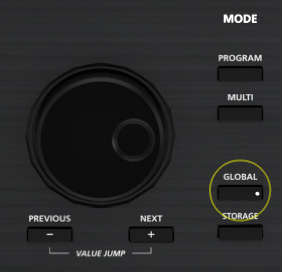
1) Press the GLOBAL mode button.
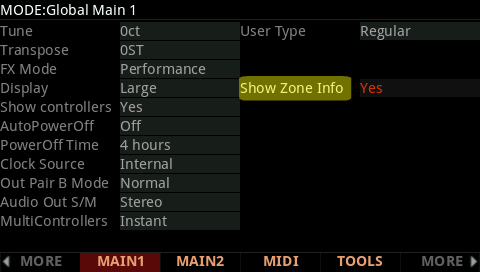
2) Set “Show Zone Info” to ‘Yes’:
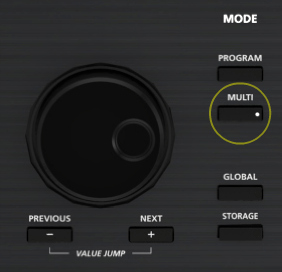
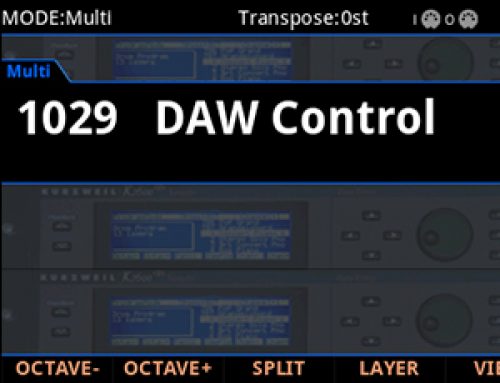
3) Press MULTI to switch to MULTI mode.
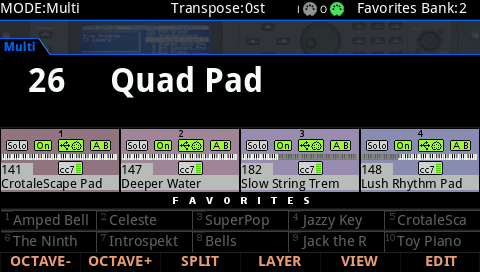
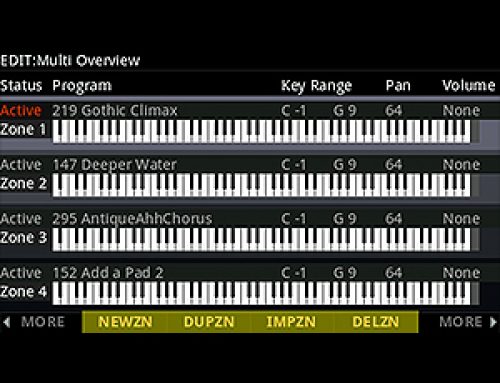
4) Select the desired Multi and note the display overlay:For ex., here we chose Multi #26 – a 4-zone multi and, as such, 4 zone fields are now displayed:
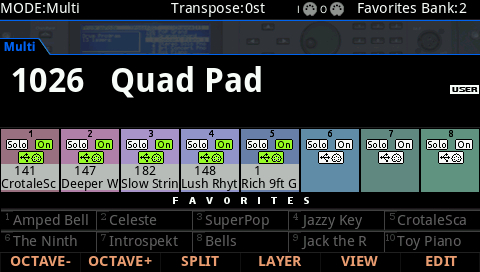
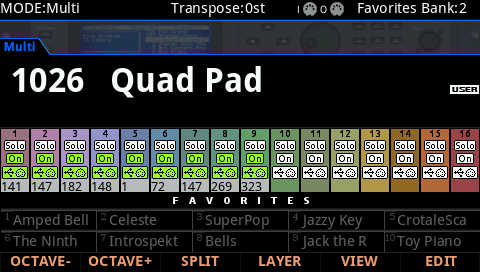
As the number of zones employed increases the display will reconfigure accordingly:
With 5-8 zones:
With 9-16 zones:
Each field displays the following status icons related to that zone:Note, as the number of zones increases, some data is not available:
  |
Solo | white = solo off / red = solo on |
   |
Zone On/Off | green = on (local destination) / white = muted / orange = on (MIDI only) |
   |
MIDI/USB Destination | green = transmitting / white = not transmitting (MIDI only, USB only, Both) |
   |
Audio Output Pair | green = active / white = not active (A only, B only, Both) |
 |
Key Range | white = active region |
 |
Program | Program name/ID assigned |
 |
Volume (cc7) | Green meter indicates volume level |
 |
Expression (cc11) | Green meter indicates expression pedal level. When the “Show Controllers” parameter (Global MAIN1) is set to ‘Yes (Incl. pedals)’ the cc11 icon appears. cc11 controls the pre-insert FX program level. |

