Question:
How can I set up a metronome for keyboard practice?
Answer:
Technically, the SP6 does not have a dedicated metronome however you can construct a Multi where one zone triggers a percussion sound (like a hi hat or clave for example) using the Arpgeggiator to serve as a practice click.
Here are the steps:
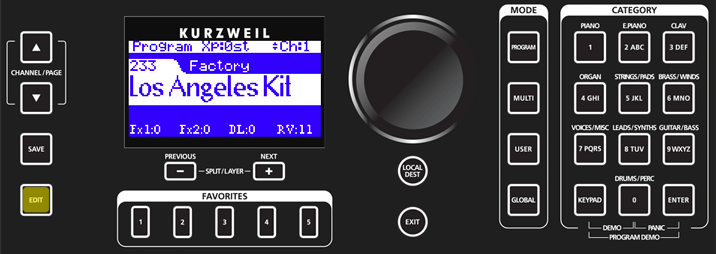
- In Program mode, select a drum kit – for ex. here we selected program #233 – then press EDIT:
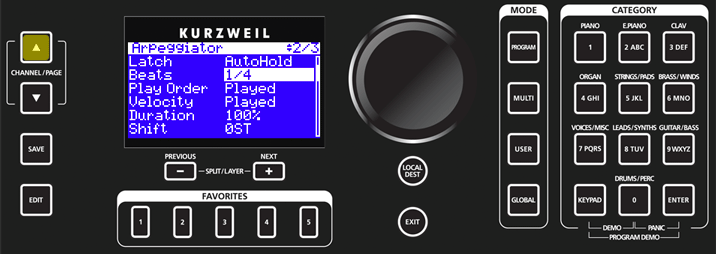
- Press the Channel/Page UP button to select the Arpeggiator page and set the Latch mode to ‘AutoHold’ and Beats to “1/4”:
- Press the Arp On/Off button to activate the Arp:
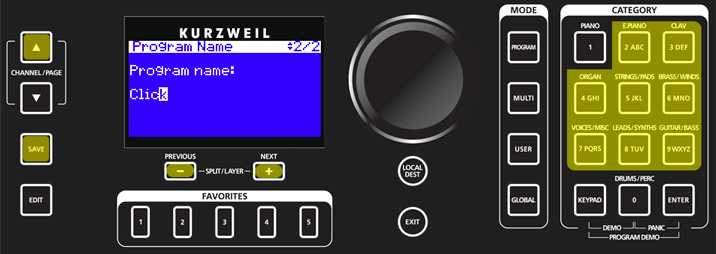
- Press SAVE, then press the Channel/Page UP button to access the program renaming screen. Using the alphanumeric keypad and Previous/Next buttons rename the program “Click”.
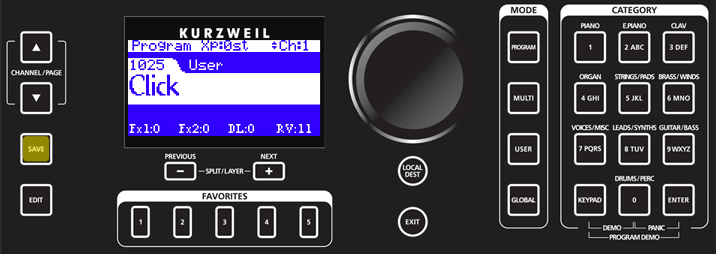
- Press SAVE again to confirm, saving this edited program to a free user ID slot. For ex., here we saved our “Click” program to ID#1025:
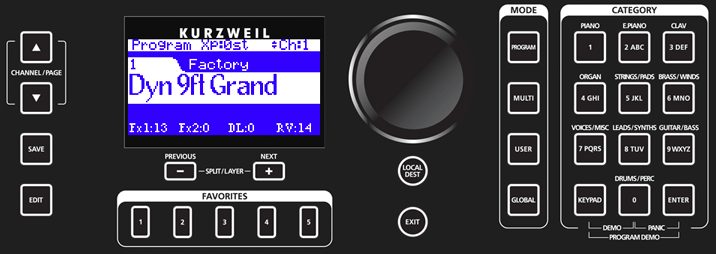
- Now select the program you wish to use for practice – for example here we selected program #1 Dyn 9ft Grand:
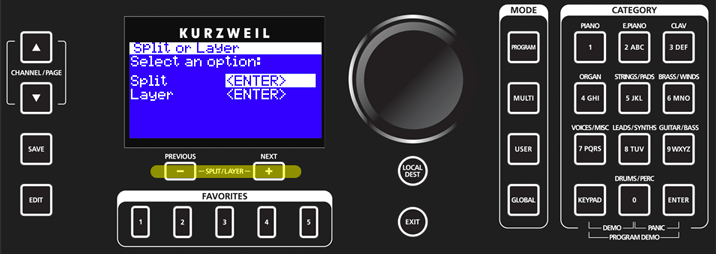
- Press the PREVIOUS and NEXT buttons simultaneously to access the “SPLIT or LAYER” tool page.
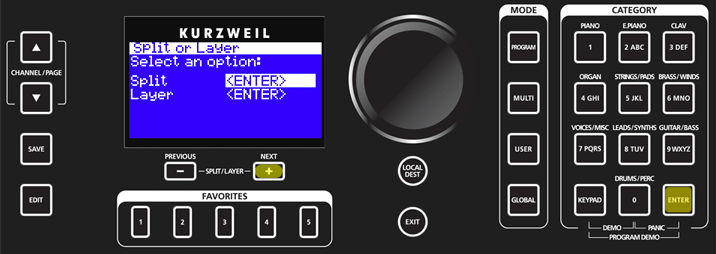
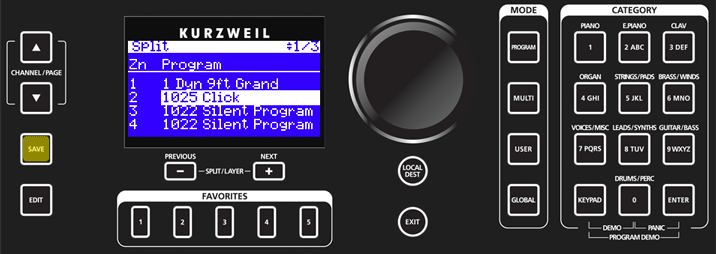
- If not already selected, use the PREVIOUS -or- NEXT buttons to select “Split” (as shown below), then press the ENTER button.
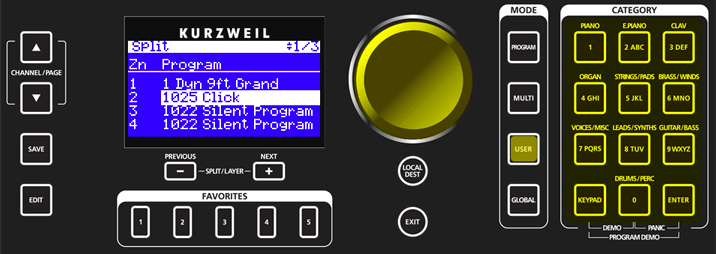
- Using common selection methods, select the newly created “Click” program (from step 5 above) as the program for zone 2:
- Press SAVE to store the Split Multi to any free user ID. Ignore the Multi name for now. We will rename it later.
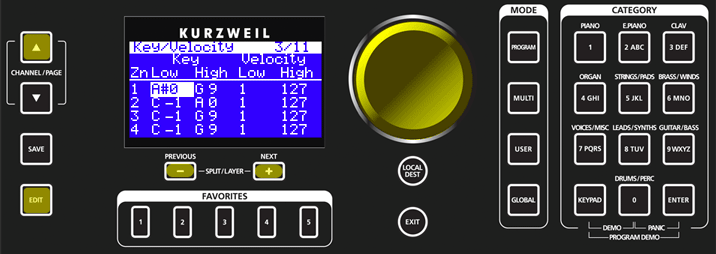
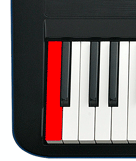
- With the newly created split multi now selected on screen, press EDIT then press the Channel/Page UP button to select the ‘Key/Velocity’ page (3/11). On this page set the key range for zone 1 (the piano) to A#0 – to – G9. Set the key range for zone 2 (the ‘Click’) to C-1 – to – A0. This will limit the click sound to the lowest note on the keyboard (something you would not realistically play anyway). This will be the trigger key for the metronome:
Shortcut: to enter a note value, highlight the desired field, press+hold ENTER then physically strike the desired note on the piano keyboard.
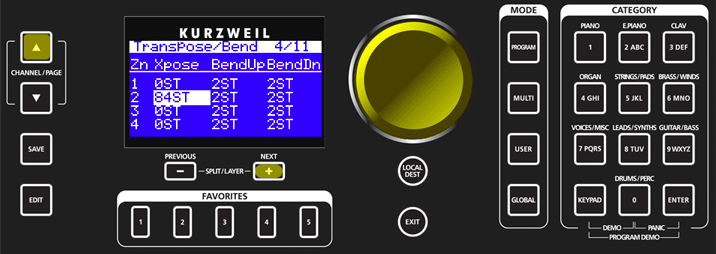
- Press the Channel/Page UP button to select the ‘Transpose/Bend’ page (4/11). On this page set the Xpose (Transpose) for zone 2 (Click) to +84ST. This makes striking key A0 actually sound A7 (7 octaves above) where a clave sample resides. Of course you can chose any percussion sound you prefer. Just experiment with various transpose values.
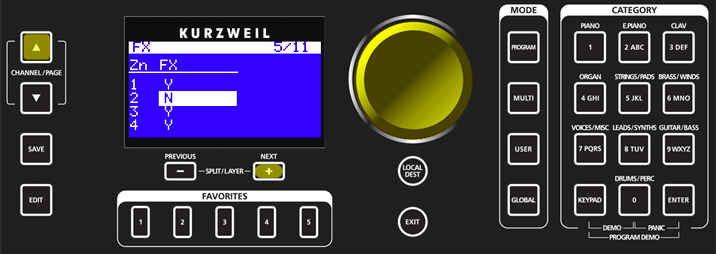
- Press the Channel/Page UP button to select the ‘FX’ page (5/11). On this page set the FX for zone 2 (Click) to “N”. (ie No)
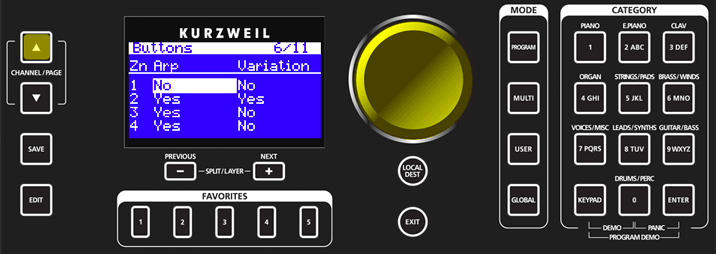
- Press the Channel/Page UP button to select the ‘Buttons’ page (6/11). On this page set the Arp for zone 1 to “No”.
- Press the Arp On/Off button to activate the Arp:
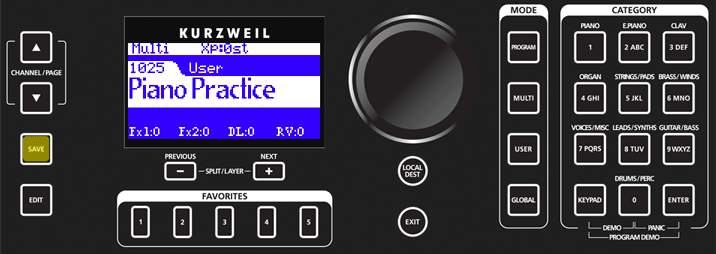
- Press SAVE, then press the Channel/Page UP button to access the Multi renaming screen. Using the alphanumeric keypad and Previous/Next buttons rename the Multi “Piano Practice” or similar.
- Press SAVE again to confirm, saving this Multi to a free user ID slot. For ex., here we saved our “Piano Practice” Multi to ID#1025:
Usage Tips:
|

