Question:
How can I access all 8 zones in Multi mode?
Answer:
The Forte SE’s default state offers 4 zones per Multi. In Advanced user mode, you have access to 8 zones. Here’ how it works:
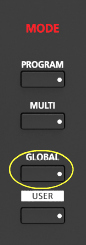
1) Press the GLOBAL mode button.
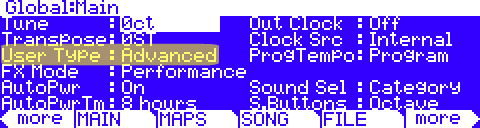
2) Set “User Type” to ‘Advanced’:
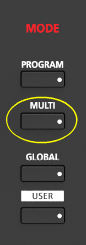
3) Press MULTI to switch to MULTI mode.
4) Select the desired Multi and press EDIT.For ex., here we chose Multi #87:
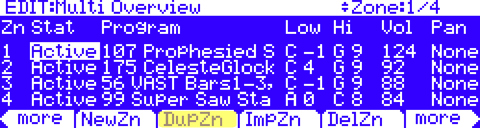
5) Pressing EDIT you can see, Multi 87 already has 4 zones active:

6) Press either the MORE Left or Right corner soft-buttons until you see the group of zone tool soft buttons used to manage creating/deleting zones – “New Zone”, “Duplicate Zone”, “Import Zone” and “Delete Zone”:
| NewZn = creates a new/empty zone. |
| DupZn = creates a new zone by duplicating the currently selected zone. |
| ImpZn = creates a new zone by importing a zone from another Multi. |
| DelZn = deletes the currently selected zone. |
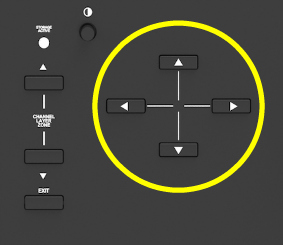
7) For example, let’s use DUPZN to duplicate Zone 1 to create some new zones – use the cursor arrow buttons to select Zone 1. TIP: by duplicating a zone that may contain similar settings to what you want for your new zone, you can save some repeat programming steps.


8) Press DUPZN:
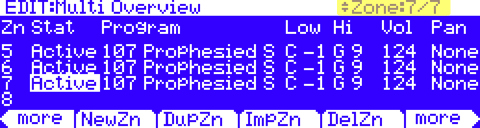
A pop-up message, “Zone duplicated” will be displayed as confirmation. For illustration, below we created 3 new zones by pressing DUPZN 3 times. Note you now see Zones 5, 6 and 7. You can repeat this for a max of 8 zones.
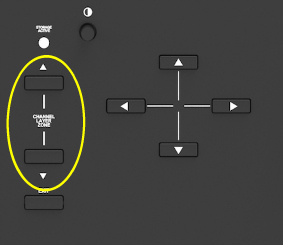
9) In conjunction with the cursor arrow buttons, use the CHANNEL/LAYER/ZONE buttons to then navigate through the zones in groups of 4 to edit each zone as needed. A ‘Current Zone / Total Zone’ counter is displayed in the upper right hand corner of the screen to facilitate keeping track of things:
10) To delete any unwanted zones, use the CHANNEL/LAYER/ZONE and/or cursor arrows to select the desired zone and press DELZN – for example, here we are deleting Zone 7:

A confirmation screen will be displayed indicating “Zone Deleted”. NOTE: Zones 1-4 cannot be deleted; they can only be muted if unwanted (change Status field from ‘Active’ to ‘Muted’).
11) Following, press SAVE and store your Multi as usual.